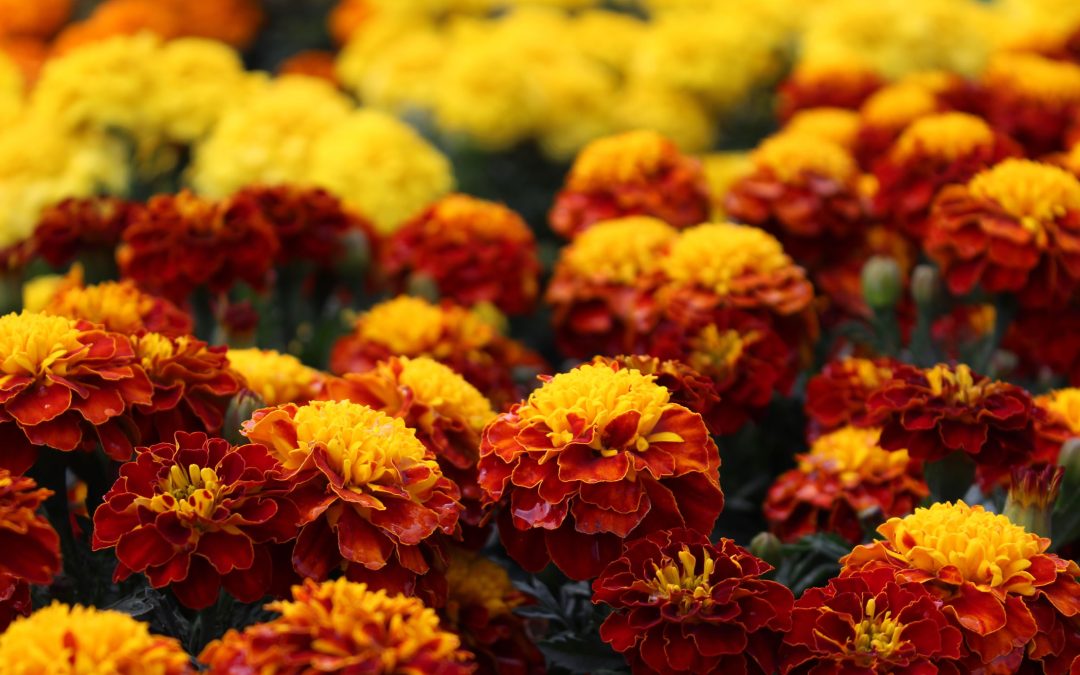
Annuals provide a relatively fast, easy, and user-friendly way to add plenty of floral color to your gardening space.
But before we jump into the basics of how to grow them, let’s first define the term.
Annuals are technically plants whose entire life cycles span one single growing season.
In other words, you purchase them in the spring or the summer, plant them, and enjoy them until the first freeze.
Then, you get to start over and choose new plants the following year.
Annuals are popular with gardeners because they offer a user-friendly planting experience—along with a fun dose of creativity.
The fact that you can just sort of ‘plant them and care for them’ without being concerned about preserving the space for the same plants next year can provide a stress-free gardening experience for people who aren’t super interested in spending hours in the weeds, marking and preserving flower beds for upcoming seasons.
Plus, with a trip or two to the store, followed by an afternoon in the garden, you can do enough beautiful landscaping with these plants to last you virtually an entire season.
So now, let’s get into it.
Here are our 5 favorite annual planting tips.
1. Select The Perfect Flowers
There are a lot of beautiful annuals to choose from—especially in a flower-friendly climate like the Ozarks.
You can choose from a fairly wide range of options, including:
- Verbena
- Geranium
- Marigold
- Vinca
- Petunia
- Calibrachoa
- Zinnia
- Ageratum
- And more
Obviously, you don’t have to stick to just one type of flower.
You can grow several at the same time to create the desired look.
One popular technique is to choose two different types of annuals and plant them together in rows to create a beautiful, colorful, ‘layered’ effect.
2. Decide If You Want To Start Them Yourself, Or Buy Started Plants
You can grow annuals from seeds, or you can buy potted plants at the store and transplant them into your flower bed.
The great thing about seeds is that they’re inexpensive and fun to grow.
The only downside is that growing from seeds requires a bit more care, effort, and maintenance.
If you’re looking for a quick and easy gardening experience, transplanting from pots may be the better option for you.
3. Read Some Basic Instructions On The Flower Before You Start
Even though annuals tend to be pretty ‘user friendly,’ it’s still a good idea to do some research and learn about what your particular chosen species needs in order to thrive, and where it’s best planted.
For example—you’ll want to know how much to water them, how much sunlight they should get, how much room they’ll need to fully grow, etc.
4. Prepare Your Flower Beds
Before heading to the store to pick out your chosen annual selections, you’ll want to put at least a little bit of time into your flower beds.
You’ll want to clear out the weeds and make room for the new flowers.
Ideally, you would also want to churn or till the ground up a little bit as well.
You can either perform this step with a tiller (if you have access to one), or you can use a hand shovel, a hoe, etc.
5. Arrange Your Annuals In Staggered Rows
Most people plant annuals in staggered rows to allow plenty of room for the plants to fill out and grow.
For example—you could fill in a back row with 5 plants, stagger a row of 3 plants next in line, then plant another 5 in front of the middle row, etc.
This will give you a beautiful arrangement without butting the plants too closely against one another.
Giving each plant plenty of room to grow is an important factor if you want to continue to enjoy them for the full breadth of their life cycles.
In Conclusion
Now, well equipped with some basic annual flower fundamentals, you’re ready to hit the garden and start your project.
We love annuals here at Linda’s, so make sure to take some pictures and tag us in them on Facebook!
We’d love to see your beautiful floral creations and landscapes.
And as always, if there’s anything we can do to help, don’t hesitate to let us know.

